Gillette Venus
Writer and expert • 25 Apr 2023
This complete routine introduces step-by-step exfoliation to effectively remove dead skin cells.
Whether this is your first time dermaplaning or you’re a master with the blade, our NEW Facial Hair & Skin Care with Olay dermaplaning routine offers a complete line of products designed to work in perfect harmony to instantly give you visibly glowing skin
Before we get into how it all works, let’s start with a few quick basics.
Dermaplaning doesn't just carefully remove the fine hair, but also instantly and visibly removes layers of dead cells and grime. The easy exfoliation of the dermaplaning razor blade promotes cell turnover and renewal, revealing your skin’s true glow. How often you dermaplane is up to you, and depending on your individual skin type, results can last up to a few weeks. To maintain your results, dermaplaning at home can be done as frequently as needed.Now that we have the basics down, let’s get started.
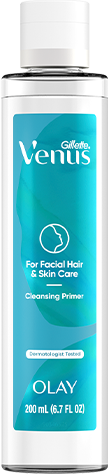
Clean your skin with a cleansing primer to prep it for dermaplaning.
First things first. It’s important to use a face cleanser specifically designed to remove dirt and oils before dermaplaning. Our NEW Facial Cleansing Primer cleanses and instantly hydrates skin and facial hair, helping your face feel clean and prepped for dermaplaning. It’s made with skin-loving ingredients like niacinamide, cucumber and aloe, but without all that other stuff like fragrances, dyes, sulfates or parabens.
Simply apply a small amount to a cotton pad or cleansing pad, ideally a reusable pad, and wipe your entire face. Our cleansing primer even removes stubborn dirt, makeup and oil other cleansers may leave behind. Repeat until the pad comes back clean. It can be used alone or as a double-cleanse for a deep clean.
Now that you’re prepped and primed, it’s time to dermaplane.

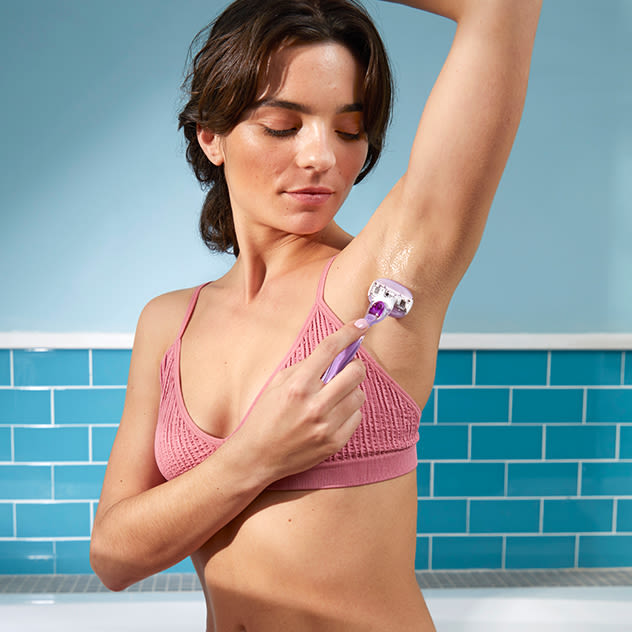
Dermaplane at home on dry skin using a dermaplaning razor.
We recommend using the blade on clean, dry skin for best results. When you’re ready, get a firm grip on the ergonomic handle of our Facial Razor dermaplaning tool. Using your free hand, pull the skin taut and lightly position the blade against your face at a 45-degree angle. Use short, feathery strokes and go with the hair growth, often downward, as you move across the targeted area. Wipe the blade as you go on a reusable cotton pad or tissue to remove any buildup for a smooth, effective experience. Dermaplaning before and after results will differ based on your skin. Now that you’re smooth and exfoliated it’s time to replenish your skin’s hydration with our NEW Facial Hydration Serum.

Hydrating your skin after dermaplaning.
For the final step, apply a small amount of our non-greasy Facial Hydration Serum to your fingertips and massage over your face. Our serum helps your skin feel refreshed and gets you glowing. It’s made with niacinamide, witch hazel and hyaluronic acid, and made without fragrance, dye, sulfates or parabens.Finally, you’re all set and ready for the rest of your skin care routine.

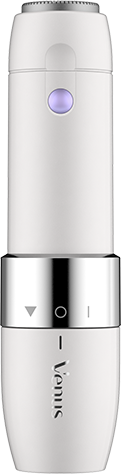
Dermaplaning touchups on the go: quick and gentle wherever, whenever.
Our NEW Mini Facial Hair Remover gently removes hairs for easy touchups on the go. The unique rotary system blades are gentle on lips, chin, and cheeks for an effortless shave. Designed for the contours of the face, this women’s facial hair remover is easy to maneuver with a built-in smart light to spot any unwanted hairs. Its discreet size makes it easy to drop in your bag for smooth, glowing skin anywhere, anytime.

Learn even more about dermaplaning or debunk some common misconceptions and myths about the entire process to help you dermaplane with confidence.